How to Add Company Email Signatures in Office 365?

Published: July 4th, 2024 • 7 Min Read
Summary: This write-up explains how to add company email signatures in Office 365. Learn its usage. Use the methods to apply signatures to both individual and bulk mail. Also, get an idea of how to back up emails containing signatures.
Email signatures are a vital part of an official email. It adds context, identity, and a sense of personality to emails. Emails that have signatures are more appealing and don’t feel like spam.
Although Microsoft Outlook allows you to add email signatures, it is disabled by default. That’s why in this blog post we have compiled the most well-known practices to set up custom email signatures for all Outlook 365 users.
Before we proceed ahead, let’s first understand the notion behind setting up email signatures in the first place.
A Brief Look Email Signatures in Office 365
An email signature, located at the email’s end, acts as a digital ID for the sender, conveying key information like professional email, contact details, logo, and website.
Think of it as a virtual business card attached to emails, mirroring a physical one, offering comprehensive business information. Even when using email management tools like Outlook with an Office 365 account, you can include an email signature in your messages.
But before we can figure out the methods of how to add company email signatures in Office 365, let’s first see why they are so important. In a professional setting, having official signatures in emails not only keeps business communication professional but also provides the following advantages:
- Acts as a Mark of Authentication: With the rise of phishing emails and job scams, even genuine requests are viewed with suspicion. One way to create more trust in an official email is to use an email signature.
- Helps Establish and Maintain Brand Identity: Having the company logo as part of the email signature is bound to generate positive responses. If the email recipient can recognize the image, they are more likely to move forward with the conversation.
- Provides an alternative feedback mechanism: In a default email, the only contact information that the recipient has is the email address. Moreover, if there is an urgent matter of discussion, then just an email address will not suffice. That is why professionals are recommended to share secondary contact information like phone numbers, social media links, etc. wherever possible. And using signatures is the best way to do this.
- Automate repetitive texts: Professional-level emails contain a lot of repetitive text, like sign-off statements. Instead of manually typing in all the information every time they send a new email, users can automate it by adding an email signature.
Individual Email Signature Setup in Office 365
Steps to put email signature in Outlook 365 desktop app
- Open the new Outlook Desktop App on your machine
- Click on the gear icon at the top right corner
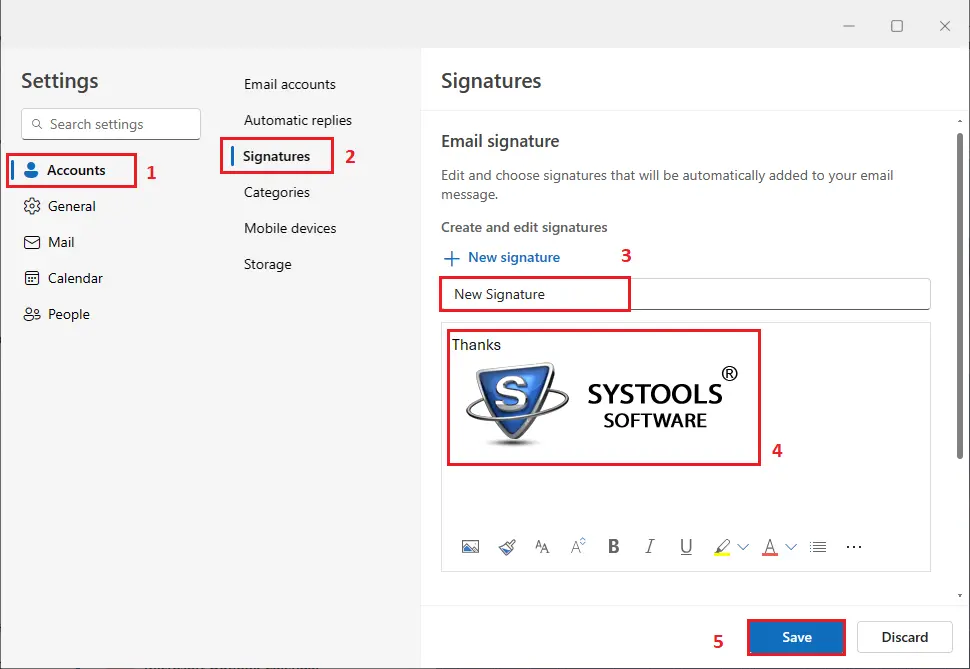
- In Accounts >> go-to Signature >> click New signature >> Add info >> Press Save
Alternatively, you can use OWA for adding email signatures in Office 365
- Login to Outlook Web App
- Under the Home tab, click on the New mail icon (or press N on your keyboard)
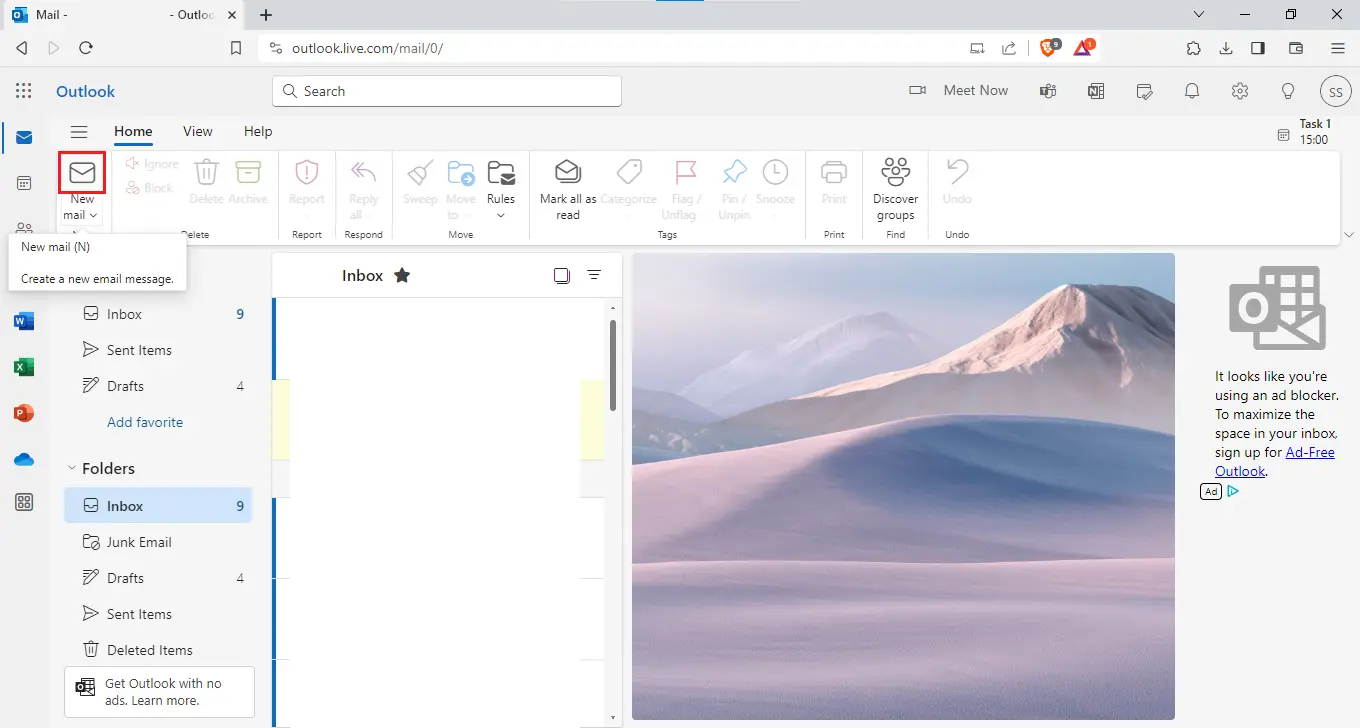
- It takes you to the Message tab, which has a new Toolbox
- Here, click the Signature option under “Insert” partition
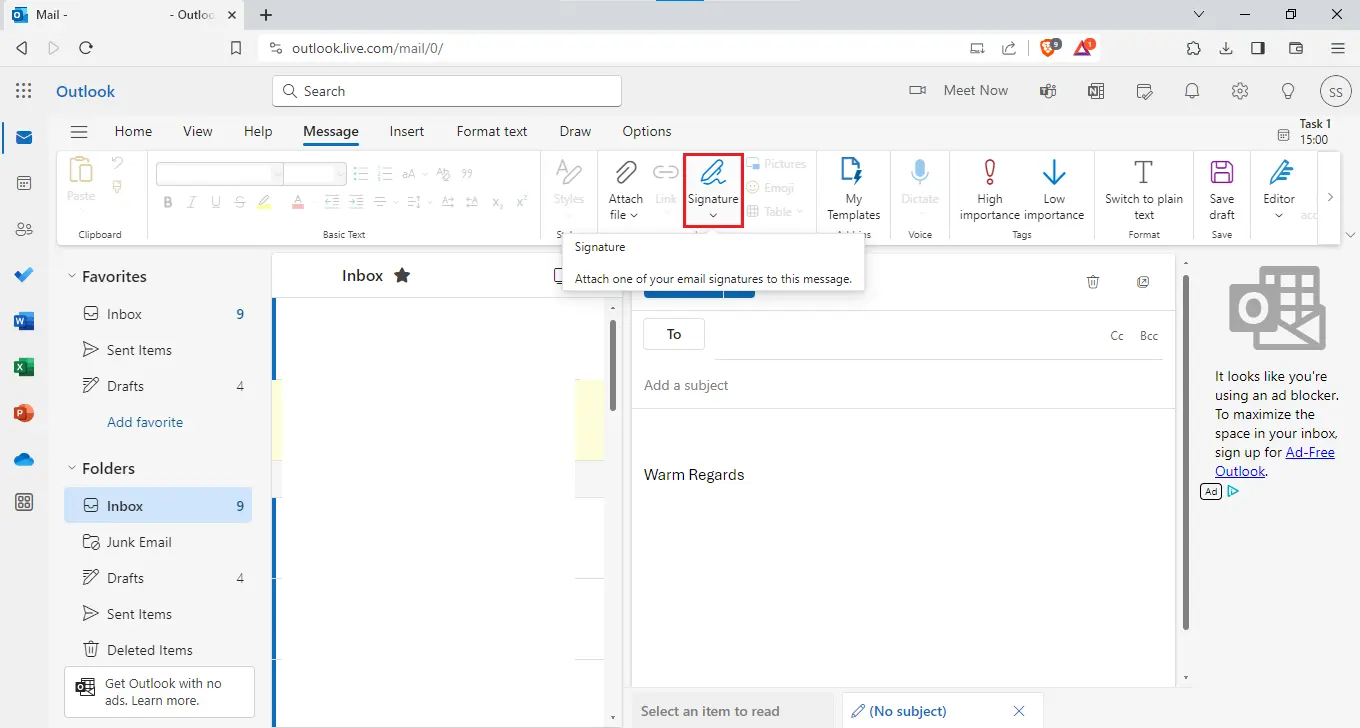
- In the dropdown, click “Signatures…”
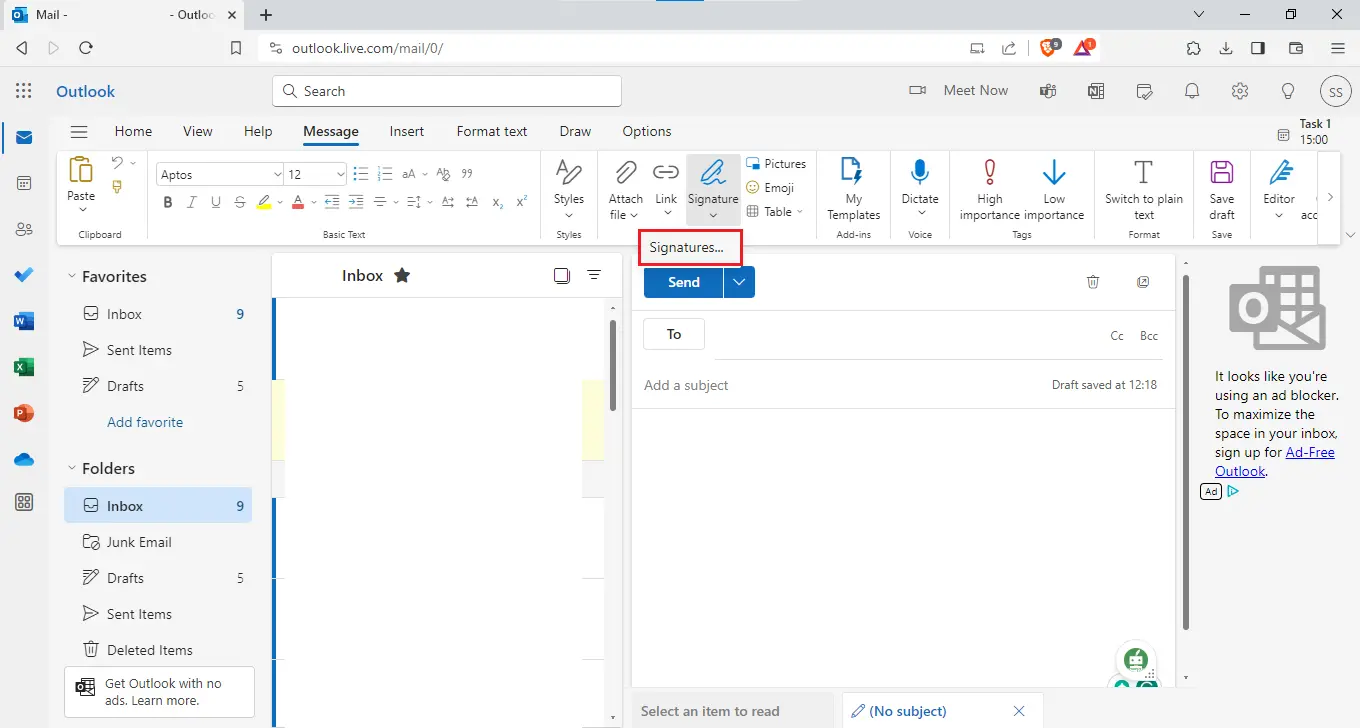
- If you have a previously created signature, Press the +New Signature option; otherwise, continue as usual
- Type the name
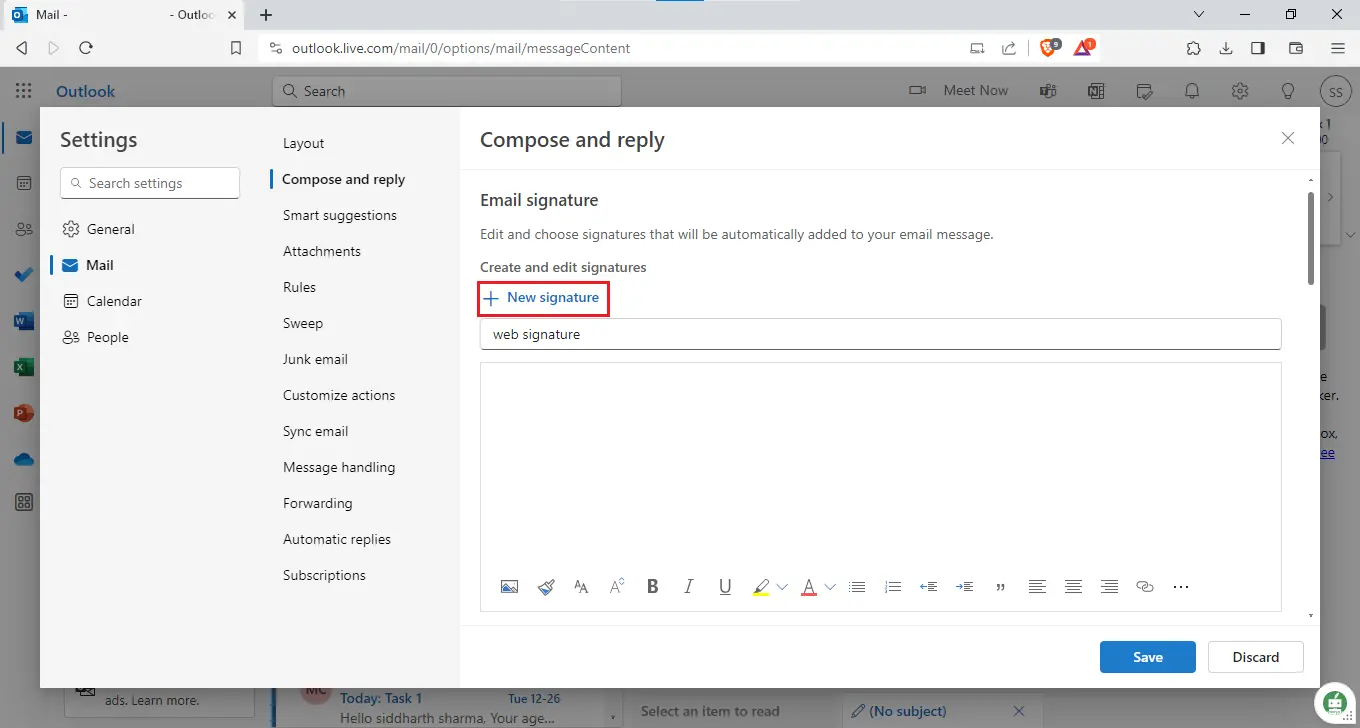
- Add the contents (message, images links, etc)
- Click Save

Note: The signatures created on the Outlook Windows app sync with the web app in real time. However, the inverse is not true. This means that users who create the signature on their web app can’t see the result on their desktop app (even if the app is running). If they wish to view the browser-made sign, they must restart the desktop app again.
How to Create Company-Wide in Office 365
Users have complete freedom now that they know how to add company email signatures in Office 365. Additionally, there are many situations in which admins themselves need to create company-wide email signatures in Office 365. So, follow these procedures to establish a disclaimer that functions as an automated email signature for all users.
- Log in to EAC and go to ‘Mail flow‘ > ‘Rules‘.

- Click the ‘+’ icon and choose ‘Apply disclaimers‘.
- Name the rule, e.g., “Company-wide Signature”.
- Select ‘Apply to all email messages’.
- Under ‘Do the following…‘, pick ‘Append the disclaimer…‘ and click ‘Enter text’.
- Input your HTML code/text for the signature.
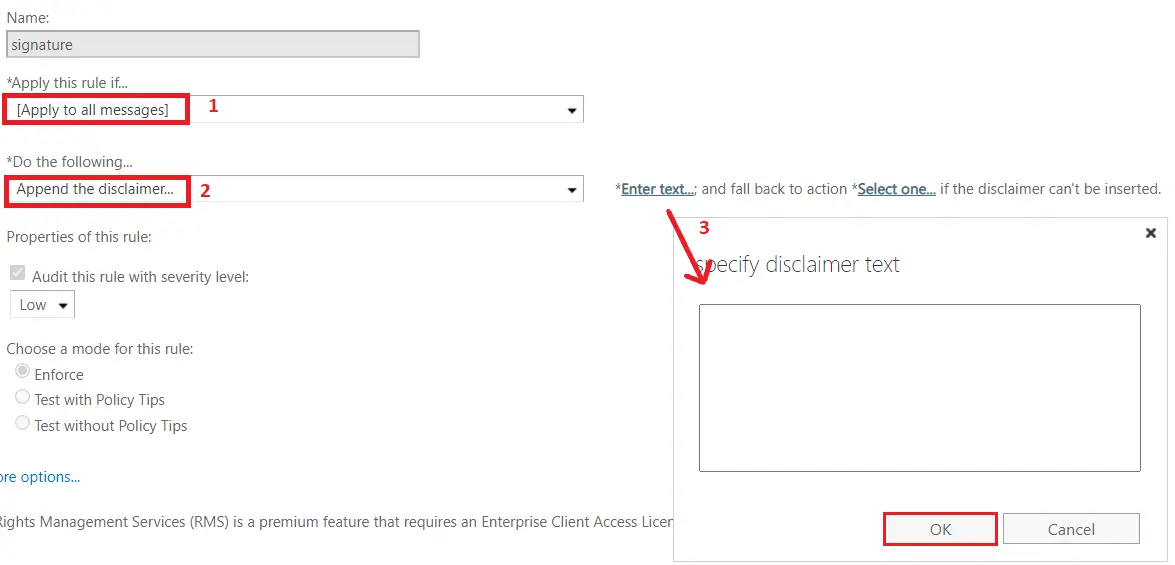
- Personalize using user attributes like %%Name%% and click ‘OK‘.
- Specify a fallback action under ‘Select one…‘, and choose ‘Ignore‘ to send without a signature.
- Keep other settings, then click ‘Save‘.
Challenges with Office 365 Email Signatures
Within this blog, we found all efficient solutions for the query “how to add company email signatures in Office 365.”. Moreover, in this part of the phase, we learn the consequences of email signatures, which the users need to be aware of:
- When Active Directory (AD) fields are blank, the signature will contain leading whitespace that remains in the signature.
- Email signatures of M365 users will be managed by the admin only.
- Instead of embedded images, you can use images as attachments in email signatures.
- You can’t include an email signature below a reply or forwarded message.
- A server-side email signature cannot appear in the user’s sent item folder.
- Users cannot exclude lines with variables that remain unmodifiable.
Besides this, in many situations, users need to back up their emails to secure crucial data. Additionally, there are no efficient conventional methods for the same. So, it is a big problem to back up the data, but don’t worry. Luckily, there is software available in the market that provides its users with a smart backup and restore option.
Final Words
In this comprehensive article, we discussed the query that is frequently asked by users, i.e., how to add company email signatures in Office 365. We now hope users understand how important email signatures are in various professional communication scenarios.
Users can now set up individual-level email signatures in both desktop and web-based Outlook 365 applications. Moreover, a tutorial on adding a signature to Office 365 email in bulk is also present here. In the end, we gave a sure-shot method of preserving historical email communication containing email signatures.
Frequently Asked Questions
Q. Can I add pictures to my email signature in Office 365?
Yes, you can add pictures to your email signature. But, remember that the pictures might show up as attachments instead of being directly in the email, based on the email client settings of the person receiving the email.
Q. What steps should I take to make sure my email signature has the right contact details?
Make sure the contact details in your Active Directory are precise, as they are used to populate your email signature. Regularly check and adjust the details in your signature if necessary.
Q. Why is there extra space at the beginning of my email signature?
Extra space at the beginning of an email signature might happen if some Active Directory fields are empty. Make sure all necessary fields are completed to fix this problem.
Q. Can you check your email signature before sending emails?
Yes, you can in your email client (Outlook desktop or web app) but for server-side signatures, you must send a test email to see the result.
Q. What steps should I take if the email signature doesn’t show up the way it’s supposed to?
Make sure to:
- Verify that the signature settings are properly arranged in the Outlook or Exchange Admin Center.
- The Active Directory fields included in the signature are not empty.
- Restart the Outlook app if the signatures are generated through the web app.
- Review for any policy or rule issues that could impact the signature function.