How to Import Contacts to Outlook from CSV – The Complete Guide

Many users search for solutions on how to import contacts to Outlook from CSV. Without contacts, no business communication can be completed. That is why we have researched and compiled the sources from various forum sites into a single easy-to-understand blog.
Let’s start by addressing some of the most common user queries regarding the same.
User Queries on How to Import Contacts to Outlook from CSV
“I am migrating from Gmail to Office 365. I exported the Google contacts to CSV file. How do I import the local CSV contact file to Microsoft Office 365? Please provide complete steps to perform this task! Thanks.”
“I have a CSV file saved on my Mac OS. Please tell me how to upload .csv file to Office 365. I need to import contacts to my account urgently.”
I’ve got this CSV file from my colleague; it has some important client contacts, and I need to bring them into the Office 365 cloud platform ASAP. Can you help me with the steps for uploading this data?”
These queries resemble the problem of how to import ICS to Office 365? After coming across various other user queries like these, one thing is quite clear. There is a lack of information on Office 365 admin roles and the resulting responsibilities. So users have to manually manage the task of importing data like calendars. Read the following section to learn how to open a CSV file in Office 365.
Upload CSV file to Outlook Contacts Via Outlook Client
Steps to Import Contacts to Outlook from CSV (New Version)
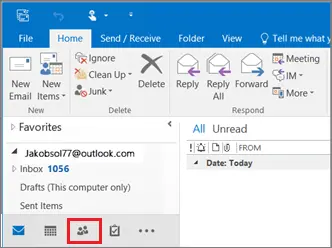
- Go to the side panel and click on the people icon
 .
.
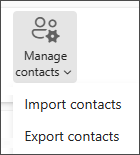
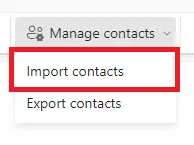
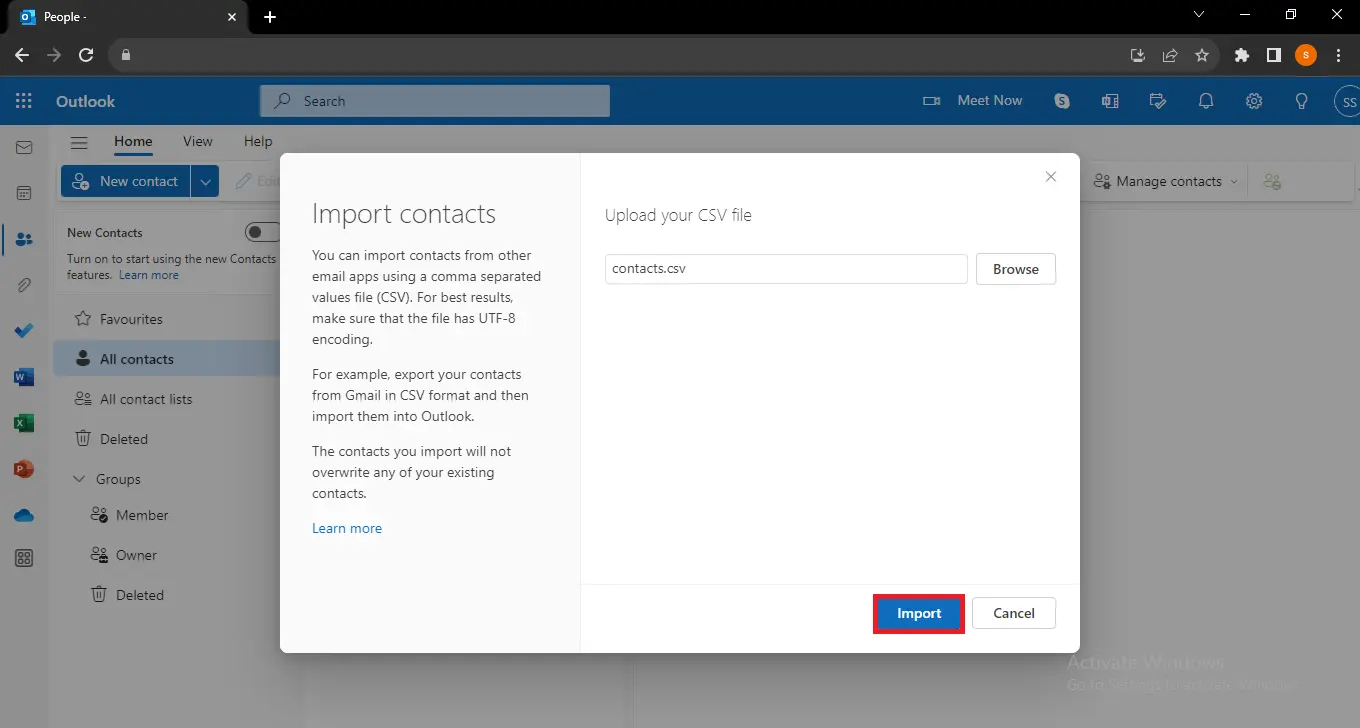
- In the ribbon, click Manage contacts >> Import contacts.
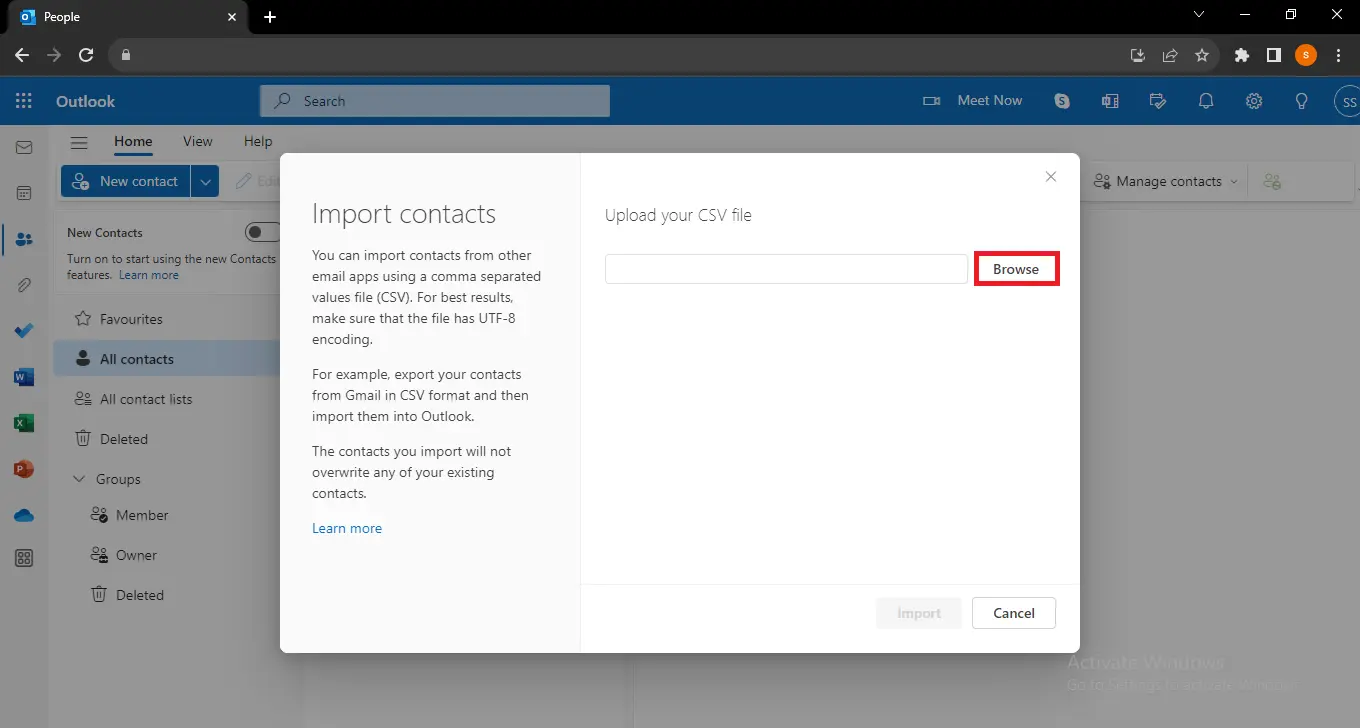
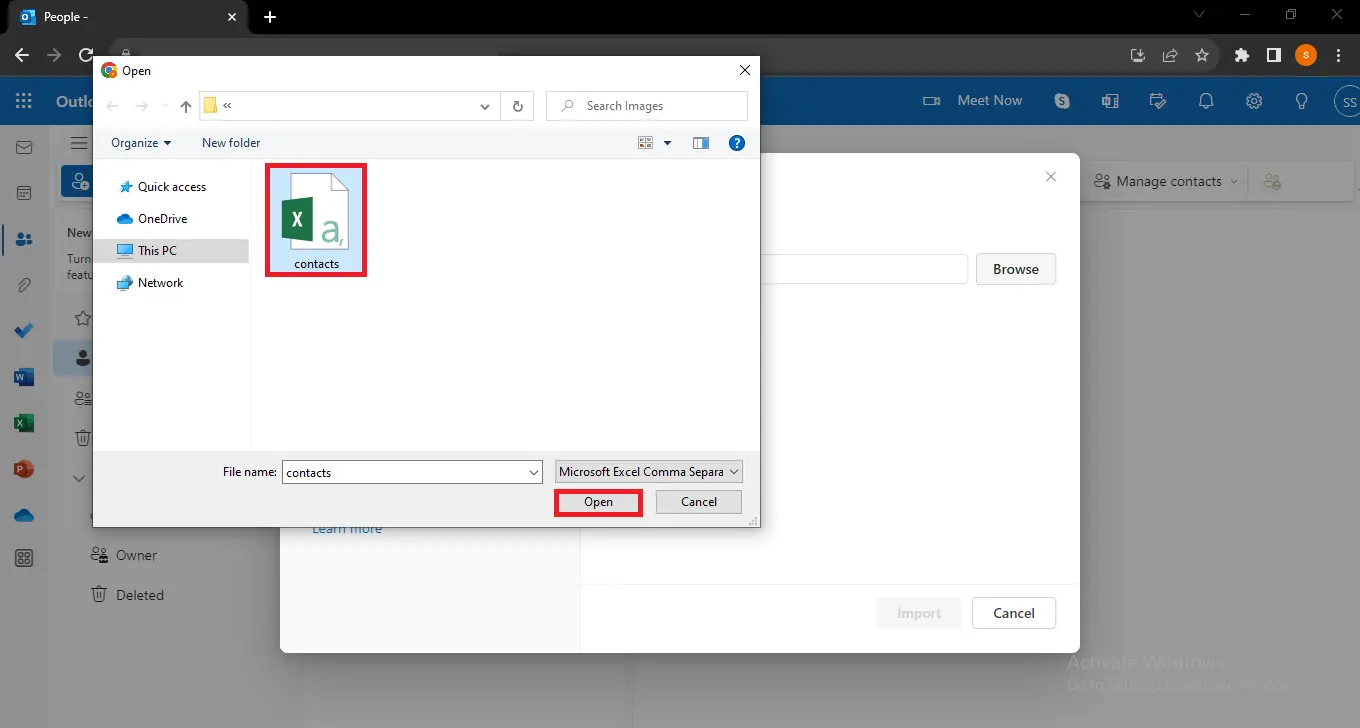
- Click Browse >> pick CSV file >> click Open.
- Click Import.
Steps to Import Contacts to Outlook from CSV (Classic Version)
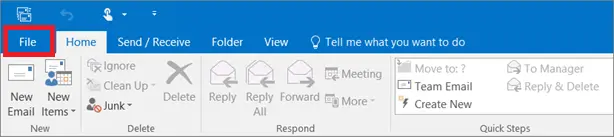
- In the upper left-hand corner of your Outlook ribbon, click File.
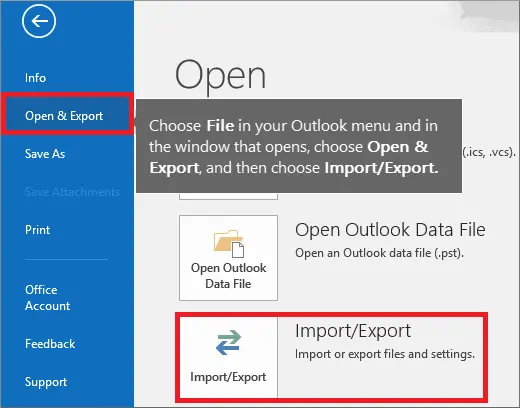
- Click Open & Export >> Import/Export.
- Select “Import from another program or file” >> Next.
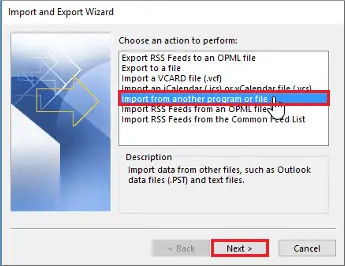
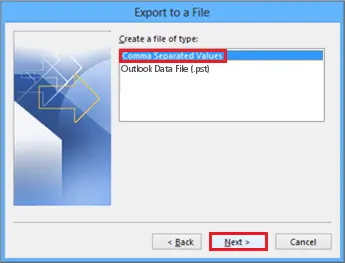
- Then, pick “Comma Separated Values” >> Next.
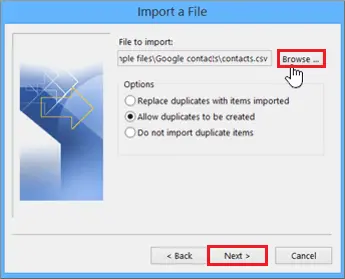
- Within the “Import a File” box >> click browse >> Locate CSV >> double-click to pick it.
- To instruct Outlook on how to handle duplicate contacts, you have the following options:
- Replace duplicates with items imported: Choose this if you have some contacts that are the same in both Outlook’s current database and the newly imported file. Here, Outlook prioritizes the information in the CSV over its database and updates accordingly. This is the best option if you want to import contacts to Outlook from CSV files containing minor changes.
- Allow duplicates to be created: This is the default selection as it has the most lenient contact copying mechanism. Here, Outlook not only maintains its original data but also adds new contacts to the list, even if they are the same. You get the option to either combine or discard contacts of your choosing.
- Do not import duplicate items: This is the opposite of the first option. It means Outlook gives preference to its database over the CSV that you provide. So only choose this option if you are uploading completely new contacts.
- Press Next.
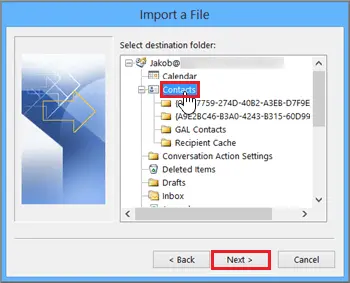
- Within the “Select a destination folder” window, scroll till you see the Contacts folder >> Next.
- Press Finish.

- Outlook starts to get the contacts from the source file. Once the import is done, the Import Progress box closes on its own.
- You can view all contacts from the bottom of Outlook; just click on the People icon.
How to Upload CSV File to Office 365 Step by Step
The below-mentioned steps help you import a *.csv file into the Office 365 environment. Please follow them in the order in which they are mentioned.
- Step 1. Log in to outlook.office365.com with your Office 365 credentials.
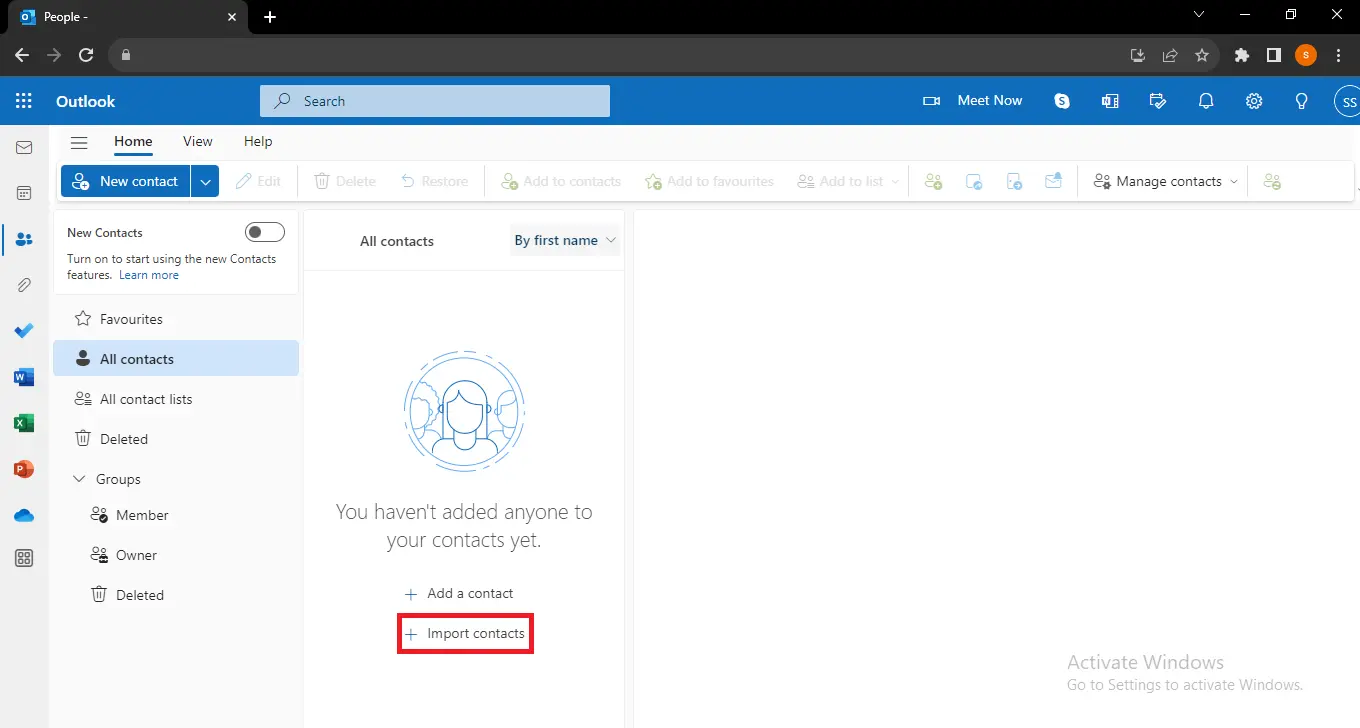
- Step 2. If you have a new account with no previous contacts, then click the “Import contacts” button present at the bottom of the dashboard.
Or, Click on the Manage Contacts button in the Top Menu, then select “Import Contacts”.
- Step 3. Now click on Browse to select the CSV file which you wish to migrate to O365.
- Step 5. After browsing the file, click on Open.
- Step 6. Then, hit the Import button to bring your CSV contacts to the Outlook web app.
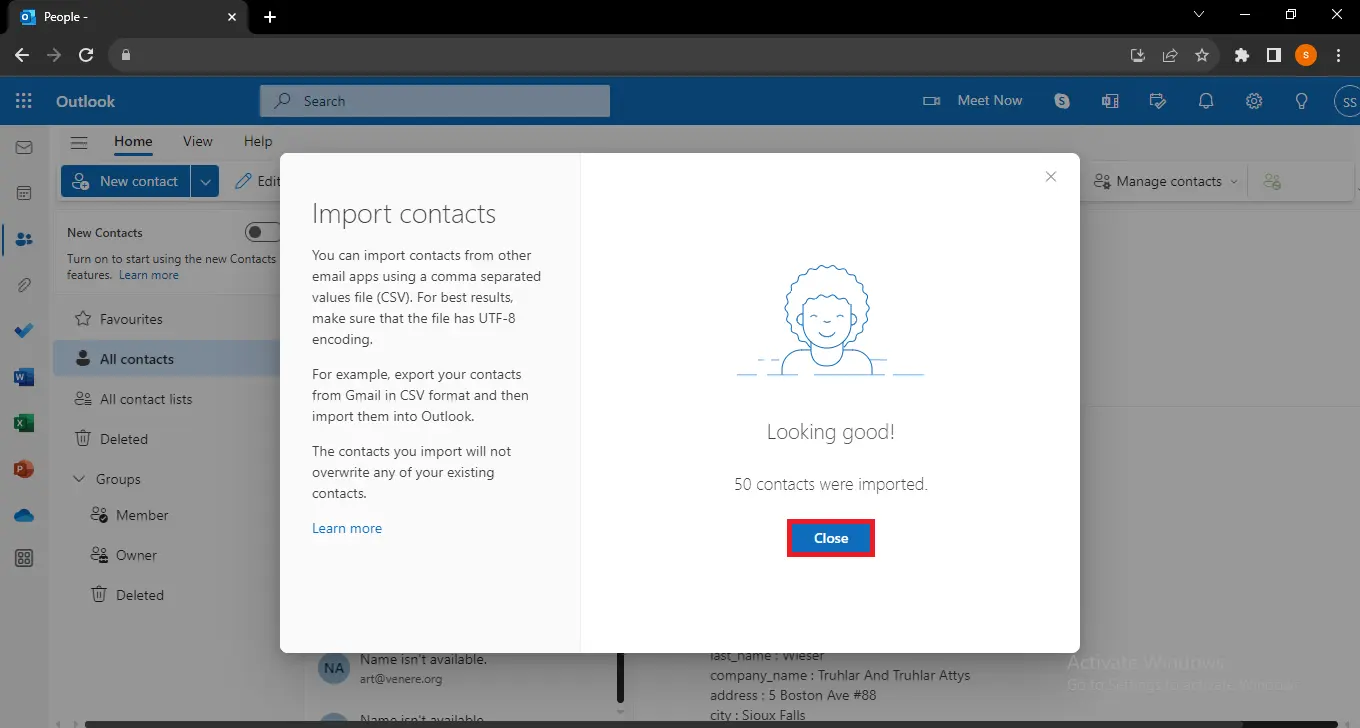
- Step 7. Once uploading CSV to Office 365 is successful, you will receive a completion message with the count of total contacts imported.
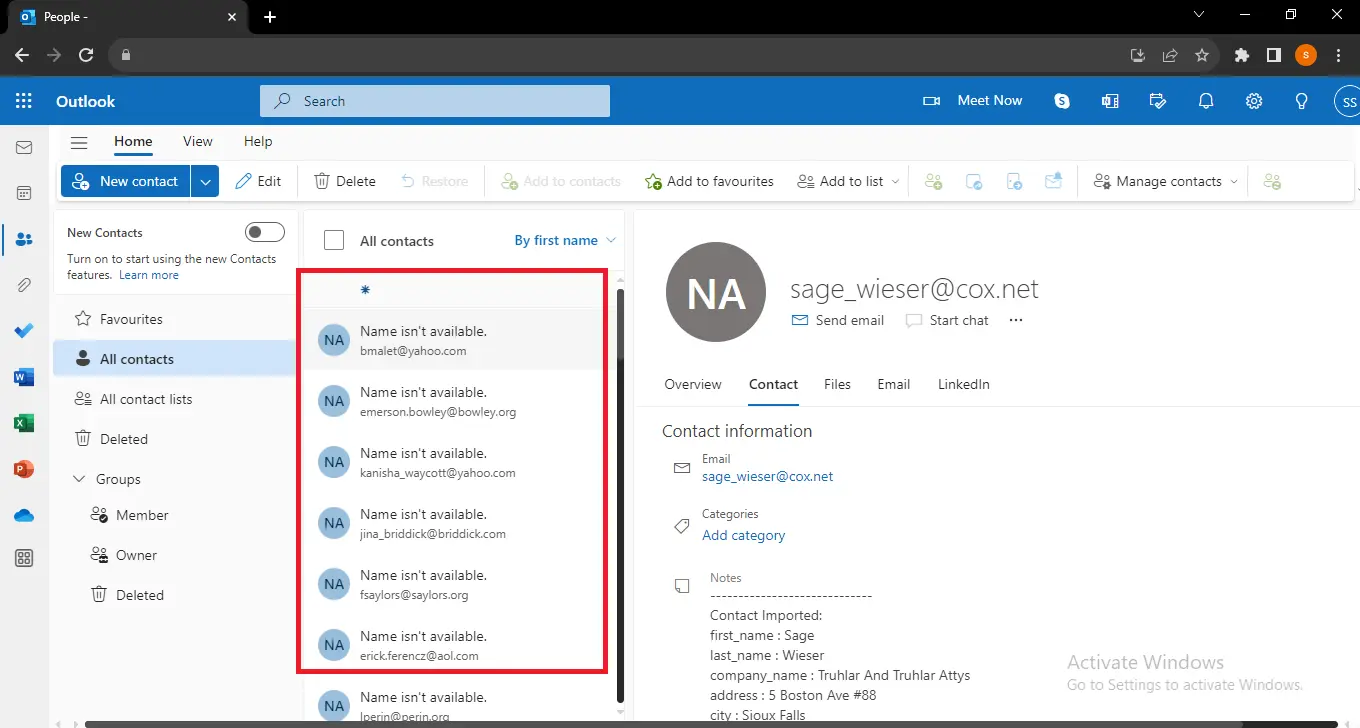
- Step 8. Then you can check if the contacts are imported successfully by looking into your Contacts list in Office 365.
Add CSV Contacts to Outlook Through PowerShell Commands
For some users, clicking and working through endless boxes may be repetitive and boring. Moreover, the task of manually pushing the next button over and over again for multiple users is not easy. There is a way to automate the process via PowerShell commands. Let’s see how to do it.
- On your desktop, launch a new PowerShell module as Admin.
- To avoid interruption while running commands and scripts, configure the execution policy mode to RemoteSigned or Unrestricted.
Set-ExecutionPolicy RemoteSigned
- Restart PowerShell to reflect the changes.
- If you possess the credentials directly, type them in. Otherwise, use the command given below to get the credentials.
$UserCredential=Get-Credential
- Start a PowerShell session from your machine:
$RemoteSession = New-PSSession -ConfigurationName Microsoft.Exchange -ConnectionUri https://outlook.office365.com/powershell-liveid/ -Credential $UserCredential -Authentication Basic -AllowRedirection
- Some commands (like ones related to Exchange Online) that we use are not present in the database by default, so we need to import them first. It can be done via:
Import-PSSession $Session
- Make sure that the Exchange Online PowerShell V2 module is ready for use before you can import contacts to Outlook from CSV. Moreover, before that, you also need to download the PowerShellGet module.
Install-Module PowershellGet -Force
- Press Y on your Keyboard to confirm the request.
- Sometimes installation results in the following errors
- “PowerShellGet module (the NuGet provider) cannot be installed”.
- Warning: Unable to download the list of available providers. Check your internet connection.
- Here are the steps to resolve the error.
- Verify the PowerShell version:
Get-Host | Select-Object Version
- Ensure it meets requirements; for example, PowerShell 5.1 or above is suitable.
- Check security protocols:
[Net.ServicePointManager]::SecurityProtocol
- If the output is either SSL3 or TLS 1.1 and below, update to TLS 1.2 or above version based on your hardware configuration.
- Once all changes are done, you should upload CSV contacts to Outlook with no further interruptions. Run this command to install the module
Install-Module PowershellGet -Force -SkipPublicherCheck
- Next, install the Exchange Online Management module with this command:
Install-Module -Name ExchangeOnlineManagement
- For a new session, type in the following commands one by one.
$Credential=Get-Credential
$Session = New-PSSession -ConfigurationName Microsoft.Exchange -ConnectionUri https://outlook.office365.com/powershell-liveid/ -Credential $Credential -Authentication Basic -AllowRedirection
Import-PSSession $Session
- In our example, the files were located on the path C:\Temp\New_Outlook_contacts.csv (change your file path accordingly). Use the command and import contacts to Outlook Online in PowerShell.
Import-ContactList -CSV -CSVData ([System.IO.File]::ReadAllBytes(“C:\Temp\New_Outlook_contacts.csv”)) -DateCultureName “en-GB” -Identity user@domain.onmicrosoft.com
Some Tips to Follow After You Import Contacts to Outlook from CSV
- For now, Microsoft only allows the import of contacts that are in CSV file format to Office 365.
- Through this method, you can import contacts to Office 365 from your Gmail, Yahoo, Outlook, and Windows Live Mail accounts.
- This procedure doesn’t allow the upload of multiple *.csv files to multiple user accounts at once.
- No new folder of contacts will be created after uploading a CSV file.
- The contacts will appear in the existing contact lists.
Conclusion
This blog showed how to import contacts to Outlook from CSV in multiple ways. After covering both the modern and the classic Outlook email clients, we discussed the approach for the web app as well. For the more technical-savvy administrators, we also have a PowerShell method available for use.
Choose the best method at your convenience. Moreover, we know that real-time business scenarios are not limited to importing contacts present in CSV files. So we include an advanced utility to cover all other needs. Be sure to check it out.
Frequently Asked Questions
Q. Can I map CSV columns to Outlook fields during the import process?
Yes, during the import process, Outlook provides an option to map your CSV columns to the corresponding Outlook fields to ensure the data is imported correctly.
Q. Do I require any unique approvals to add contacts to Outlook?
Typically, you don’t require any unique approvals to add contacts to your personal Outlook account. Nonetheless, if you’re adding contacts to a shared mailbox or another person’s account, you will need the right access permissions.
Q. Is it possible to bring in contacts to Outlook without needing a CSV file?
Yes, you can individually add contacts to Outlook by hand, or bring them in from different types of files that Outlook can handle, such as vCard (.vcf) files.
Q. What occurs if my CSV file exceeds a certain size?
If your CSV file is excessively large, the import procedure might become sluggish or might even fail. Think about dividing your CSV file into smaller segments and importing them one by one.
Q. Why do certain contact fields disappear after importing?
If certain fields are absent, it could be because the CSV columns were not properly matched with the Outlook fields when importing. Review the mapping process to make sure every field is accurately linked.